|
Ningbo Starway Security Equipment Co., Ltd.
|
LED Full light bars
| Payment Terms: | T/T,WU |
| Place of Origin: | Zhejiang, China (Mainland) |
|
|
|
| Add to My Favorites | |
| HiSupplier Escrow |
Product Detail
Life Span:100,000 12/24V G-2/G-3 LEDs;
DOME : Imported high-strength PC material with excellent lustrous and high penetrating-for ability.
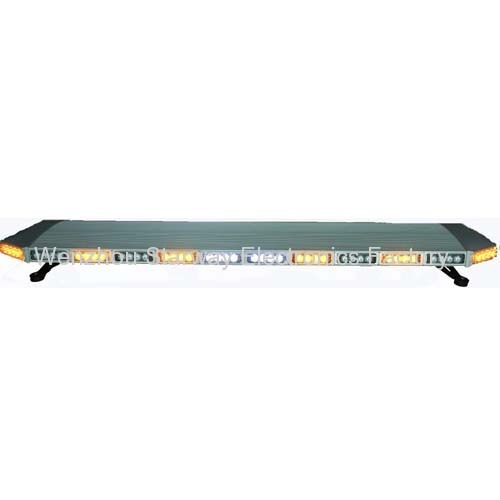
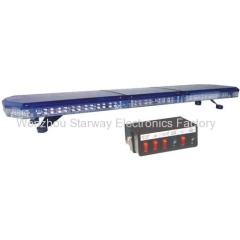
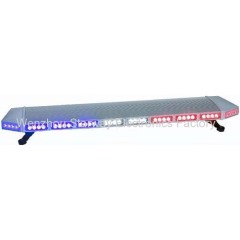
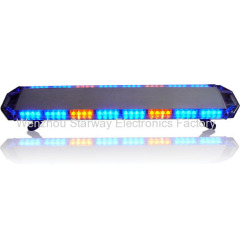
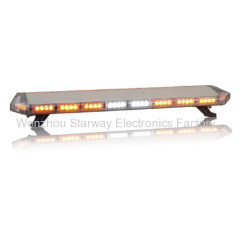
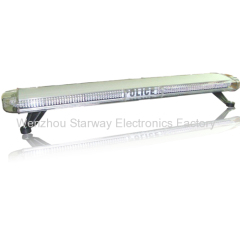
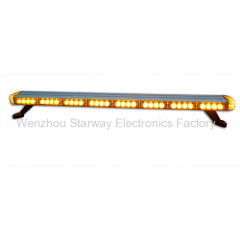
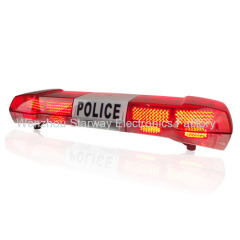
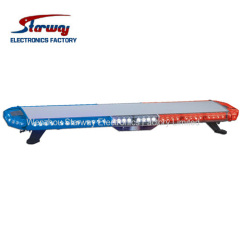
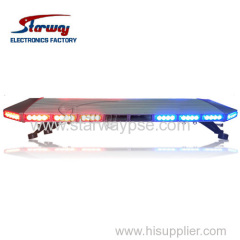
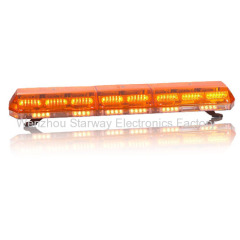
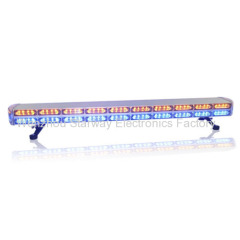
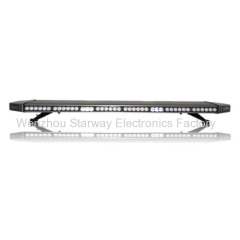
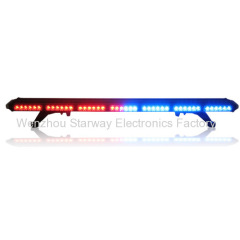
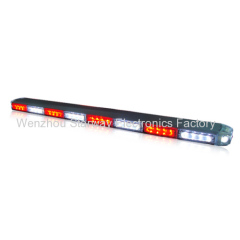
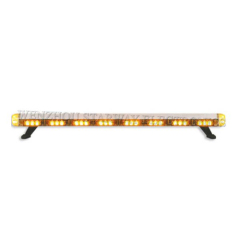
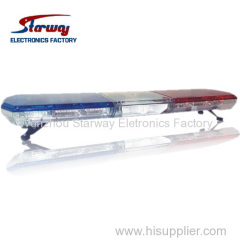
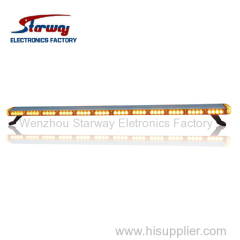
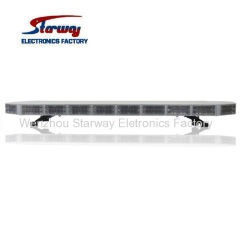
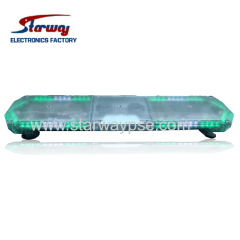
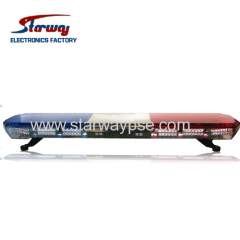
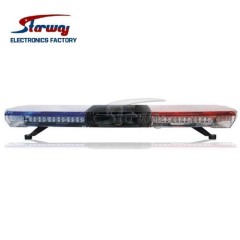
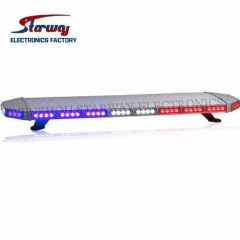
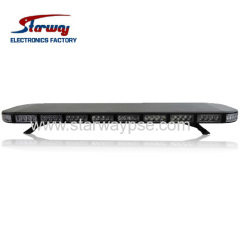
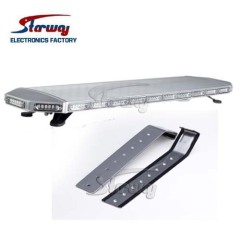
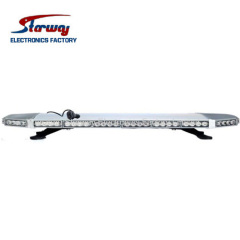
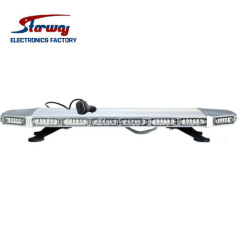
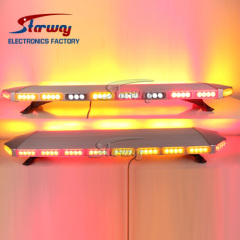
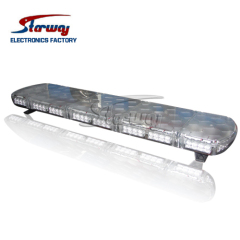
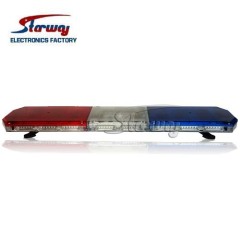
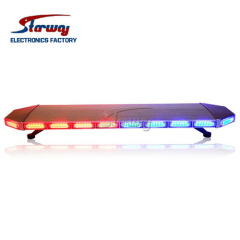
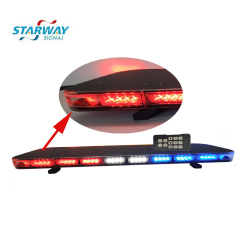
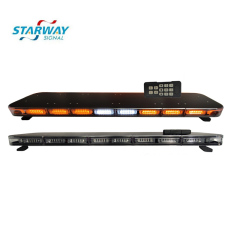
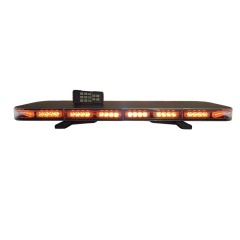
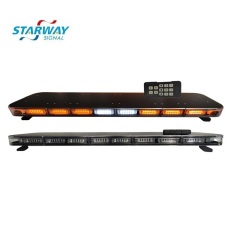
LTF-A900AB-140 LED full Lightbars for Police lightbars and Emergecy Vehicle
1) Summary: This product adopts double-layer aluminum alloy boards structure and sector design, which has distinct outline stronger percussion-resistant capability, and is not easy to lose color and get aged. Moreover, the caution light has good sealing and waterproof. A lot of LED lights are distributed as a ring and use high power LED lights let it give out strong flash from each direction. And it has advantage with high brightness and low power waste. Even in extremely complicated, circumstances, it can transmit emergency signal correctly. The controller of the light bar can choose several modes to flash the light.
2) Specifiation:
| Work voltage | DC12V/DC24V |
| Length | 140cm |
| The max. lightened bound | > 800LX |
| Environment | -40 ℃~ +50 ℃ |
| Currant | 10.2A(140cm red blue) |
| Life Span | 100,000 |
| Light type: | Generation lll / Generation ll |
| Dome | Imported high-strength PC material with excellent lustrous and high penetrating-for ability. |
| Base | Aluminum alloy material with high strength. |
| Size | 1400x300x130(45)mm |
| Net Weight: | 19KGS |
3)Packing Information:
| Packing Size | 1450x350x180mm |
| Qty/CTN | 1PCS |
4) Installation of the warning light bar
a) Put light bar on the roof of the vehicle, base on the vehicle's size, adjusting the frame to fit it, And Then let the catches button the rainwater line on both side of the vehicle and screwing the nut by wrench. (Re. Figure 1 below)
b) After installed, firstly, according the color, plug the six wires one by one to the controller, ensure every wire not to meet each other, then connect the two main red and black electrical wires to the battery (red to +, black to -) (Re. Figure 2 below).
NOTICE: the controller connection should must be made before it connects to battery. And must use insulating tape tie up every of six wires of controller, ensure they can not to short. Otherwise the controller will be damaged.
5) Controller
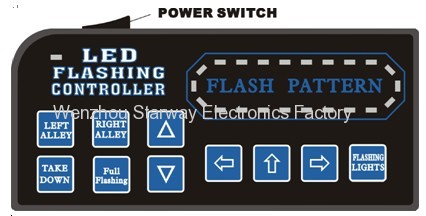
a) The power switch that on the one side of the controller is control the power supply of the light bar and controller.
b) Switch LEFT ALLEY control the left alley light. Press one time for lighting; press again for turn off.
c) Switch RIGHT ALLEY control the right alley light. Press one time for lighting; press once more for turn off.
d) Switch TAKE DOWN control the front lights. Press one time for lighting; press once more for turn off.
e) Switch Full Flashing control the 18 PCs flashing lights to flashing or turn off.
f) Switch
 change the main flashing lights to backward a pattern.
g) Switch
 change the main flashing lights to next a pattern.
h) Switch ← control the direct lights flash towards left. Press once for turn on, press once more for turn off.
i) Switch ↑ control the direct lights to flashing. Press once for turn on, press once more for turn off
j) Switch → control the direct lights flash towards right. Press once for turn on, press once more for turn off
k) Switch FLASHING LIGHTS control the 12 PCs flashing lights to flashing. Press once to flashing, press once more to turn off.
Workshop:
Applications:
Police, Fire, The Automotive, Police, Fire, Motorcycle, Construction,Emergency Vehicle and School Bus Industries
Related Search
Light Bars Led
Full Color Led Display
Full Color Led
LED Full Color Display
Outdoor Full Color Led
Full Color Led Screen
More>>

